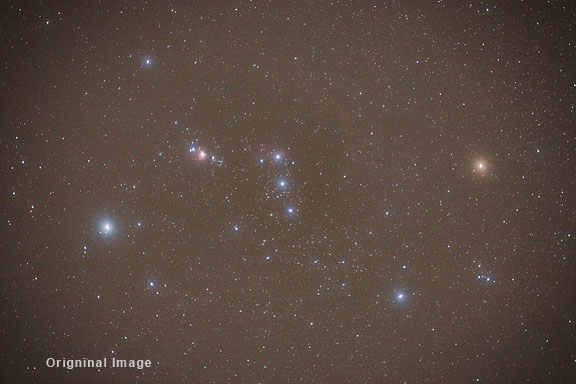
Video For these JPEG processing examples, the original image was saved in the camera in JPEG file format. JPEG file format is a compressed file format that works by throwing away image data to save space. It works very well, but we should try to minimize the number of times that we throw away image data because eventually, it will show up as degradation in the visible image. NEVER open up the original JPEG file, work on it, and re-save it as another JPEG file. This will re-compress the already compressed data, and throw even more data away. This will trash the data in your original file. Always make a copy of the original and work on that. Open the original JPEG file out of the camera, and immediately save it as an uncompressed TIFF file format file. Then archive the original JPEG for safe-keeping. I would even recommend that you right click on the original JPEG file in Windows Explorer file manager and select Properties and then under Attributes check on the box next to "Read Only". This will protect the original file from accidentally being changed. Then when you want to process your image to correct and enhance it, work on the TIFF file. Every time you make a change to it that you like, save it with a new file name. This will give you a record of each step that you have done to the image. Then you can go back to any intermediate step and make changes if you find you don't like a particular step, or if you find a better way to do things. I would suggest adding a number as a prefix to the file, and then a short description of the processing applied to the image. Here is an example of the file naming structure that I use for working images during processing:
You can see that each step builds upon the previous steps. The number prefix will help you keep track of where you are in the processing steps. You don't have to do each step, and you can name your files accordingly. Of course, this creates a large number of full-resolution files, so you will need a lot of disk space to store them. After processing an image, I would suggest archiving all of the files: originals, working, and finals, to a CD-ROM. Once you have arrived at a corrected and enhanced final image that you are satisfied with, then be sure to save a copy of it at full resolution as an uncompressed TIFF file. This will be your master final image. You should also write protect this file.
Save the adjusted image as uncompressed TIFF file. Give it a new file name and do not overwrite the original.
If TIFF is selected, chose None for Image Compression, Interleaved for Pixel Order, and IBM PC for Byte Order. Do not check on Save Image Pyramid.
|
||||||||
|
Back | Up | Next |