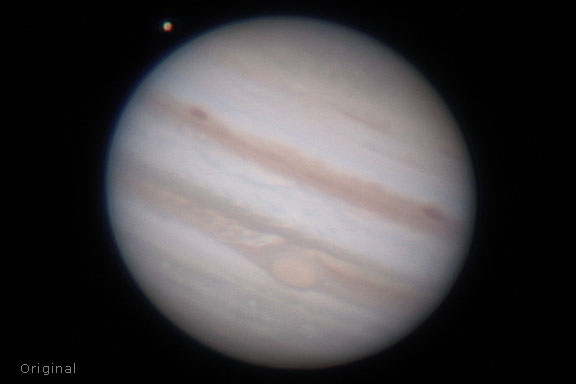
The image of Jupiter seen in Figure 1 can be improved with Photoshop's Shadows and Highlights command. Photoshop's Shadows and Highlights Command
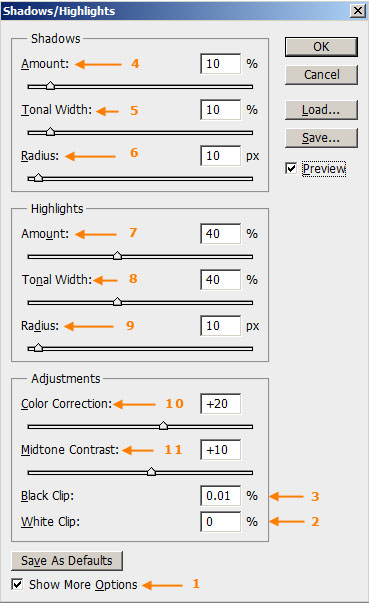
Reset the Defaults Shadows and Highlights is a very powerful tool but the default settings are not very good, so the first thing we need to do is to change these. Adjust the Shadows and Highlights Here we will primarily be adjusting the image to bring out more highlight detail, but the same process can be used for enhancing shadow detail. Just note that enhancing shadow detail can easily exaggerate the noise in an image. From the new defaults we have set, we have only changed the Amount, Tonal Width for the Highlights, and the Midtone Contrast.
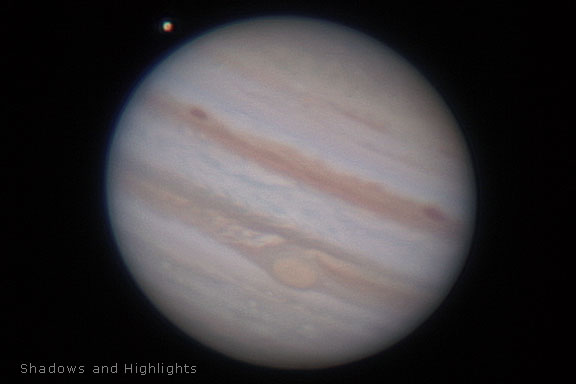
In Figure 3 we can see the results of using Photoshop's Shadows and Highlights command. Highlight detail has been enhanced. Using the Shadows and Highlights command to darken the highlights has, however, caused a bit of a loss of contrast in the image, so in the next step, we will increase the contrast of the overall image. |
||||||||
|
Back | Up | Next |