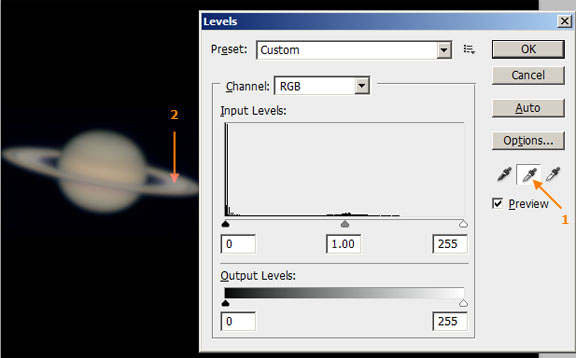
The image of Saturn seen in Figure 1 is too yellow. It was shot with an incorrect color balance. There are several ways to adjust the color in Photoshop: Saturn's rings are made of water ice and are visible by reflected sunshine. This means they should be a neutral gray color because our eyes see sunlight as white. We will use these facts and a little trick in Photoshop to correct the color. Photoshop's Levels command and the Gray Point Eyedropper
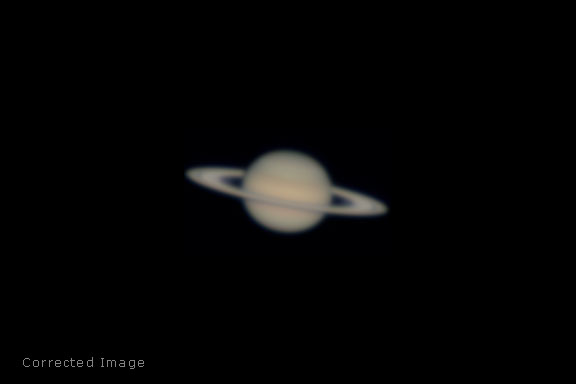
The colors in the adjusted image of Saturn (Figure 3) may look a little bit muted now, but they are correct. We will increase the contrast and color saturation in subsequent steps. |
||||||||
|
Back | Up | Next |