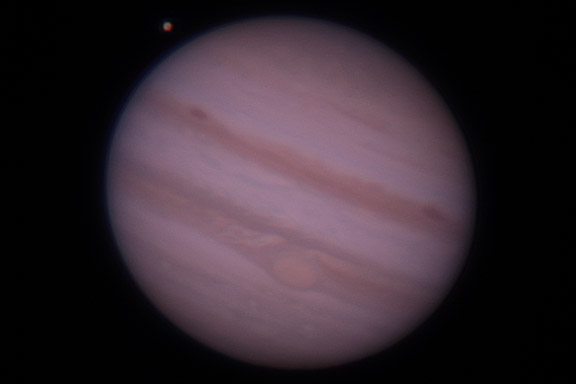
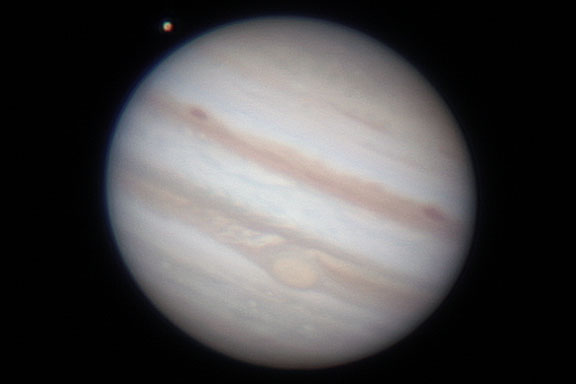
Sometimes an image won't have the correct color balance. This can occur for many reasons. It may not have been shot with the correct white balance in the camera, or it may have been shot low in the sky and affected by atmospheric reddening. Setting the White Point defines white in the image and can also increases the contrast. In many cases it can go a long way to correcting the color in the image. Below we have an image of Jupiter that was recorded with the wrong white balance. This made the color incorrect. The image is also low in contrast because it was somewhat underexposed and not all of the available dynamic range is being used.
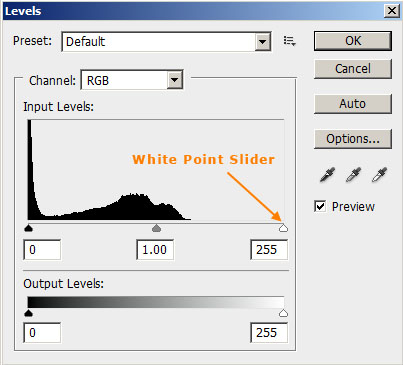
We set the white point by using the Levels command in Photoshop.
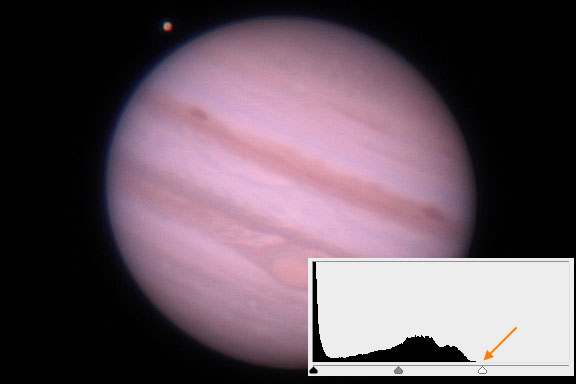
We can adjust the white point for the entire image's combined RGB channels by dragging the white point slider to the left. This will increase the contrast, but it won't correct the white balance (Figure 3).
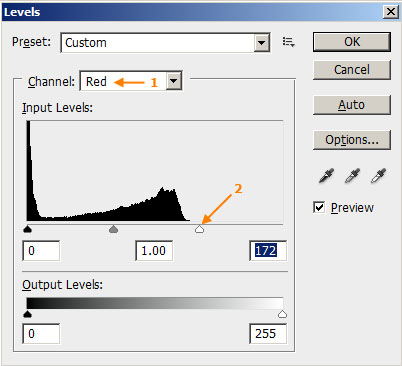
Instead, what we need to do is adjust the white point in the individual red, green and blue color channels.
We have now adjusted the white point in the image and corrected the color balance and increased the contrast at the same time (Figure 5).
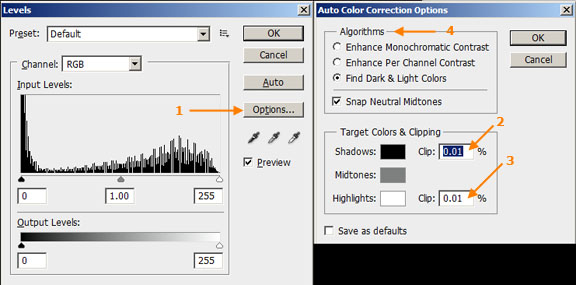
Photoshop's Auto Color Instead of adjusting the white point in each individual color channel, you can try using Photoshop's auto color correction commands. They don't always work, but it's easy to try them and it can save some time.
For this particular image, Find Dark and Light Colors with Snap Neutral Midtones produced the best result, nearly identical to adjusting the white point slider in each individual color channel. |
||||||||||||||
|
Back | Up | Next |