Archiving means permanently saving your images. It's best to archive your original image files just after you shoot them by burning them to a CD-ROM or DVD. This way, the original files can't be accidentally erased or overwritten. You can transfer your image files from your camera's memory card by hooking the camera up to your computer via a USB cable, or you can buy an inexpensive memory card reader. This will save some wear and tear on your camera, and will probably even transfer files faster. I use a Kingston 15-in-1 memory card reader that costs about $15 and will read almost any kind of memory card. The great thing about digital files is that you can make a perfect copy of them without any loss or degradation of the data. However, this can also tend to make us a little bit complacent. I know that everyone gets a little lazy about backing up their data. But we have put a lot of time, effort and money into collecting these photons from very far away places, and we should really make an effort to preserve this valuable data. We can't archive our originals on the memory cards that they are stored on in the camera because this is too expensive. So we transfer them to the hard drives on our computers. But this can be a risky proposition, because hard drives do fail, and houses can be hit by lightning and it can travel through the electrical system and fry your computer. A virus can also wipe a hard drive clean. When they do fail or get fried, all of the data stored on them is gone. If you are very lucky, you might be able to recover it - but this is usually an expensive procedure. Do not consider image files stored on the hard drive on your computer to be a serious long-time archive. Burning them to a CD-ROM or DVD is a more permanent solution. File Formats Wether you shoot JPEGs or Raw files in your camera, these are the originals and contain the most data. Once you work on an image, no matter what you do to it, you are losing data. We usually are willing to accept this trade off because it makes the image look better, even though technically it has less data. But the point is to archive your originals before you do anything else to them. In the future, you may be better at adjusting and enhancing your images so you will want to go back and start fresh with the original data.
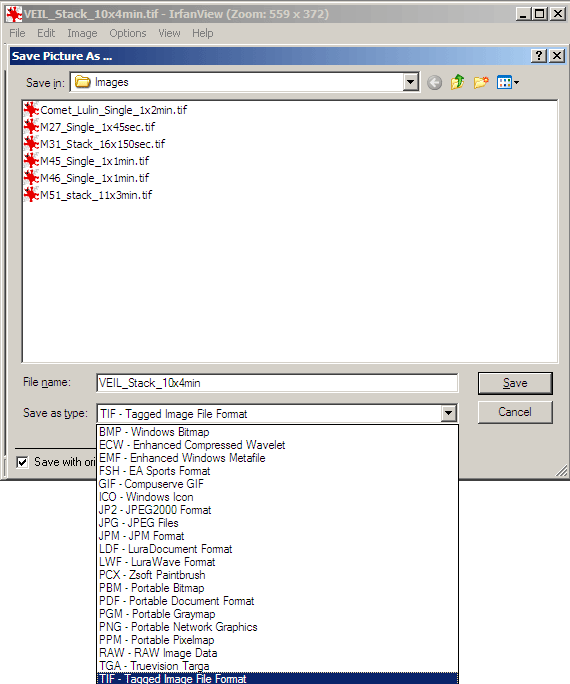
You do not want to open up an original JPEG image, and then re-save it as a JPEG. Since JPEG file format is compressed, it throws information away. Even though it does a good job of it, each time you open a JPEG and re-compress it again when you save it, more and more information is lost. Once you open up the original JPEG image and you are working on it, save it as a TIFF. Be sure not to open up your original, make changes, and then over-write the original when you save it. Always work on a copy.
|
|||||||
|
Back | Up | Next |