Video
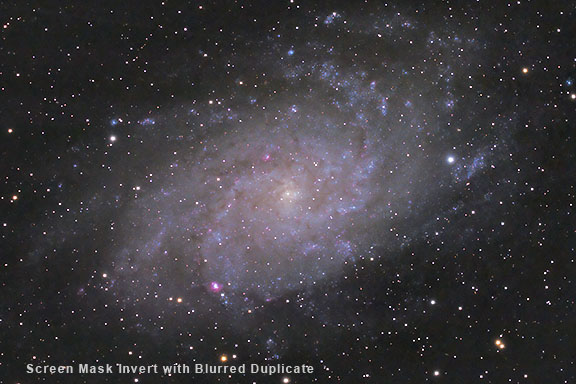
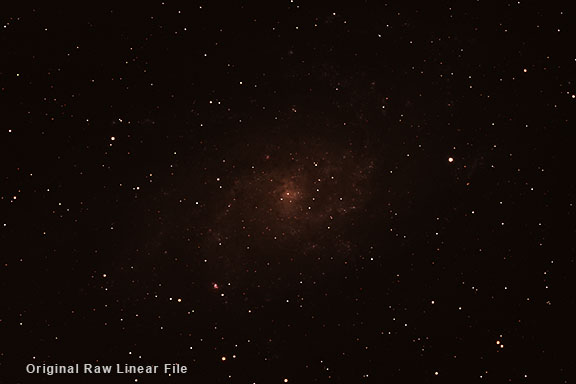
This technique is used here to increase the contrast of large scale features in an image, such as the spiral arms and dark nebulae in the core of galaxy M33. It uses a high-pass filtered layer that is blended with the original image with softlight or hardlight mode.
1. Photoshop, open the SMI enhanced image from the previous section. 2. Make a duplicate layer of it: Layer > Duplicate Layer. 3. Change the blending mode of the layer to Softlight. 4. Apply an Offset filter to this layer: Filter > Other > Highpass. Set the radius to 60 pixels. Experiment to determine the best radius for the detail you want to emphasize. OK the Offset filter dialog. 5. Experiment with different blending modes. Try Hardlight. 6. Experiment with varying the opacity of the layer.
7. Flatten the layer when satisfied. Layer > Flatten. 8. Save the Highpass-filtered image with a new unique name. 9. Because of the extreme enhancements that have been applied to this image at this point, the noise in the background has been exaggerated. You can now experiment with blending this image with any of the previous images. Paste it as a layer into another image and vary the opacity. Create a layer mask and combine an image with a low-noise sky background with one with increased contrast and color saturation in the galaxy. Experiment. The sky is the limit. Review Below you can see each of the major steps in correcting and enhancing a deep-sky image. Sharpening and noise reduction steps are not included below because the image has to be enlarged 100 percent for these to be visible. These steps are applied to the image as discussed in their respective sections.
|
||||||||||
|
Back | Up | Next |