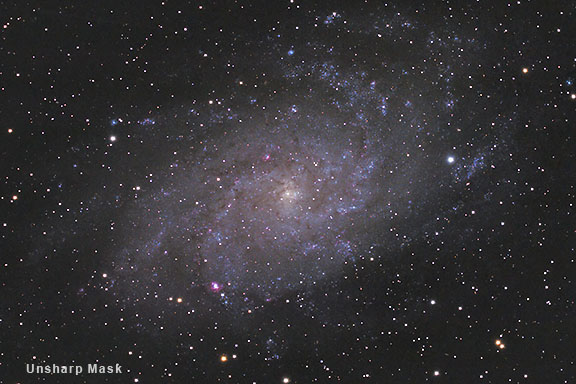
Video SMI stands for "Screen, Mask, Invert". It is a technique that I have developed to reduce noise and enhance faint parts of the image without blowing out the stars. It uses a blurred copy of the image and Photoshop's Apply Image dialog.
The best thing about the SMI technique is that it does not require multiple original images, or a separate luminance image to be combined, all you need is a single color original image. This technique uses a blurred copy of the original image. The blurred copy is combined with the original in Apply Image with the blending mode set to Screen, and Mask and Invert are checked for the target image. SMI Procedure
The settings for the Dust and Scratches filter will depend on the type of image and size and resolution of the file. For this low resolution 1 mb web page image, a radius of 4 pixels and a threshold of 0 were used. For a high resolution image of approximately 10 - 15mb try a 10 pixel radius and a threshold of 0.
After applying the SMI enhancement, you will need to re-set the black point of the image to about 30,30,30. In the SMI enhanced image, faint detail is brightened and at the same time grain is reduced while the star sizes stay the same. A similar brightening of the faint detail could be produced with a simple curves adjustment of the original image, but at the cost of making the grain appear worse as well as enlarging the star sizes. The only downside is that the contrast in the dark lanes in the core of the galaxy has been reduced. We will fix this in the next section with a highpass filtered, softlight blended layer. |
||||||||
|
Back | Up | Next |