Video Remove Cosmic Ray Hits, Renegade Hot Pixels, Other Defects Because 60 minutes of photons were recorded in 6 sub-exposures, the photon noise is fairly low in the final image. Each raw light frame was properly calibrated, converted and stacked together. The sky background of this image is very smooth. Very few defects such as hot pixels or dark holes are visible because of the power of Images Plus' auto dark-frame matching. Because the calibrated light frames were combined with min-max excluded average, few cosmic ray hits or satellite trails are visible. Examining the contrast-exaggerated image at 500 percent enlargement does, however, reveal some small defects. These could easily be left alone and would probably never be noticed, but we'll correct them just for the exercise.
Cosmic ray hits usually appear in different places in individual light frames. If only a small number of images are averaged together, remnants of cosmic ray hits may remain in the master light frames after calibration and stacking. Renegade hot pixels may also remain after not-quite-perfect calibration. Other defects such as dust shadows may remain if the image is nor properly flat fielded. These imperfections can be removed with the cosmetic touch-up tools such as the clone tool or healing brush in Photoshop.
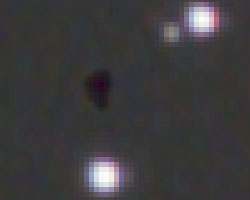
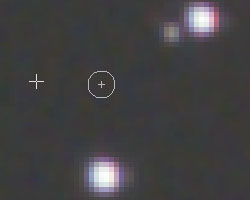
Enlarge the image to at least 300 percent magnification and move systematically through the image examining it for these types of defects. Remove them carefully, paying attention to not remove stars or legitimate objects, as well as not accidentally creating stars or nebulosity, especially if the clone tool is used. To remove cosmic-ray hits and hot pixels, set the tool to "darken". Click on a blank area of sky background as the area to be cloned or healed from. Then click on the defect. It should be corrected. If you make any mistakes, you can always correct them by using Edit > Undo, or going back in the History Palette. |
||||||||
|
Back | Up | Next |