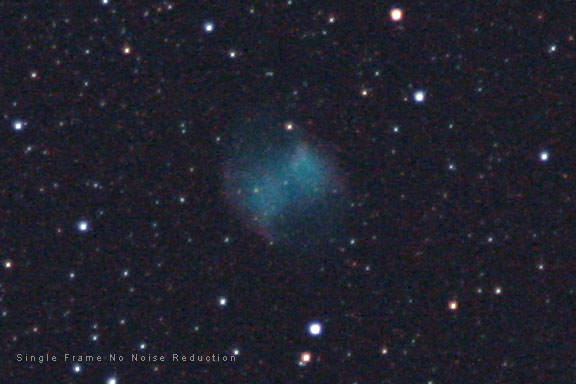
If we enlarge an image of the M27, we can see that there is a lot of noise present because this is just a single 45 second exposure with no in-camera noise reduction applied. Using long-exposure noise reduction would certainly have helped this image. Shooting under colder temperatures would also have helped. More advanced techniques such as shooting multiple images, calibrating them by subtracting dark frames, and then stacking them to improve the signal-to-noise ratio would be the best solutions of all and we will discuss these techniques in the next chapter. But here we will see what we can do to improve this noisy single image with software. Hold your mouse cursor over the image to see a comparison between the original and the image with the noise reduced. Noiseware Community Edition For noise reduction, we will turn to another piece of free software that is available for the PC - Imagenomic's Noiseware Community Edition. Noiseware is commercial software for noise reduction, but Imagenomic also offers a free version that doesn't have all of the features of the commercial version. The community edition will fill our needs here nicely, and you can't beat the price.
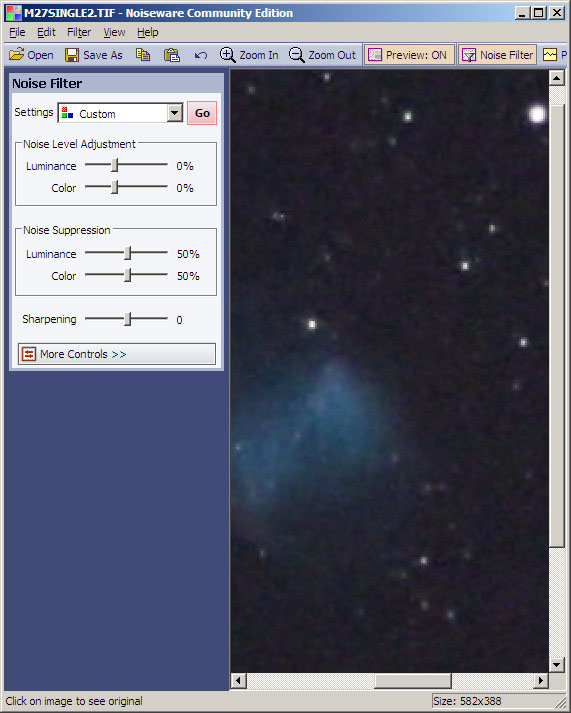
Using Noiseware's Community Edition is fairly straight forward. The default settings seem to work well, although this will depend on the amount and type of noise present in an individual image. Zoom in on the image so you can see the noise in the sky background. Then just click the red Go button to apply Noiseware's default noise reduction. If you hold your mouse cursor over the image in the display window of Noiseware, it will turn into a hand. When you left click the mouse, it will toggle between the image before and after the noise reduction is applied. Dragging the sliders in the controls at left will cause the changes to be automatically applied to the image. You can adjust the settings to taste, but try the defaults first. If anything, you would usually want to back off a bit on the amount of noise reduction applied. Too much noise reduction can leave an image looking "plastic" and unreal. Here I have backed off to 50 percent on the noise suppression for both the luminance and color. Once you are satisfied with the amount of noise reduction, go to Filter > Process, or use the keyboard shortcut of Ctrl+Enter. This applies the noise reduction filtration to the entire image file. Then you can save the image, but this free edition will only allow you to save it as a JPEG image file. For more advanced astrophotographers, there are also other commercial noise reduction programs that work very well, such as Noise Ninja. These programs also come in the form of plug-ins for Photoshop. NDNoise is another piece of free java-based software that reduces noise and works on both the PC and the Mac.
|
|||||||
|
Back | Up | Next |