When you shoot your images, you should take a quick look at them on the LCD on the back of the camera. Examine them, and the histograms, for correct exposure. Magnify them and look for problems with focus and trailing. If you are only going to shoot one or two frames of a subject, and you find it is out of focus, or trailed, you can simply make adjustments and re-shoot them right then and there. Once you get back home, the first thing you should do is to archive your original image files. Burn them to a CD-ROM or DVD and put it away for safekeeping. Then open up an image and examine it carefully in IrfanView. Sometimes stuff will show up on a nice big monitor at home that you might have missed when you shot the images at night in the dark.
Information Display in IrfanView The name of the image file is displayed in the bar at the top of the window as well as its current display size in pixels. In the bar at the bottom of the display window, more information about the image is shown. In this example image, the information from left to right is:
Under the pull-down menus, if you select Image > Information, or just hit the keyboard shortcut of the letter "I", you will find much more information about your image. Of particular use is the EXIF info button. It will display all kinds of information stored in the file about camera settings. Under the Information dialog, you can also press the IPTC info button and this will allow you to write a caption and store other information inside the image file. Navigating in IrfanView You can use the magnifying tool in IrfanView to enlarge the image. Or you can click and drag the cursor over an area and enlarge it. If you hold down the right mouse button in the image, it will turn into a hand that will allow you to drag the image around while magnified to see different parts of it. Double clicking inside of an image on display will display it full screen at 100 percent enlargement on your desktop. Clicking again one time will advance to the next file in the current directory. You can also use the space bar and backspace, and the left and right arrow keys to display and move through your image files. Use the escape key to get out of full-screen mode and go back to the normal display. When you are in full screen mode, you can use the left and right mouse buttons to go forward and backwards through the image files in that directory. You can use the arrow keys to move around inside the image if it is larger than the desktop display. You can use keyboard shortcuts while the image is in full screen move. The plus and minus keys will magnify and reduce the image size. Examine the Image Examine your images carefully for correct exposure, focus, trailing, satellites, lens aberrations and the host of other things that can go wrong. If the problems are really severe, you may have to throw out the bad frames and re-shoot them. Look to see if your exposure was long enough. This is very important. You do not want the sky background to be completely black. If it is, then all of the faintest detail in your image will be down in the noise of the camera.
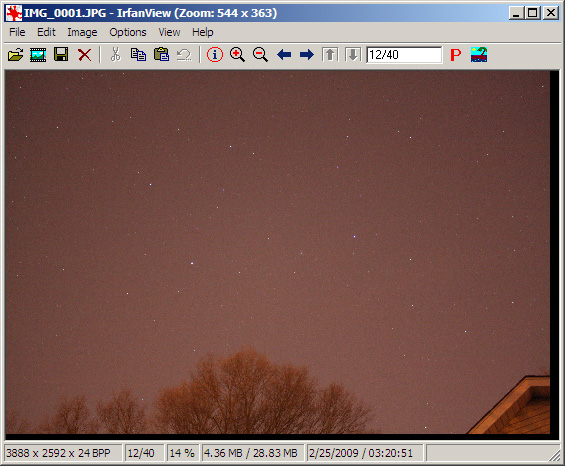
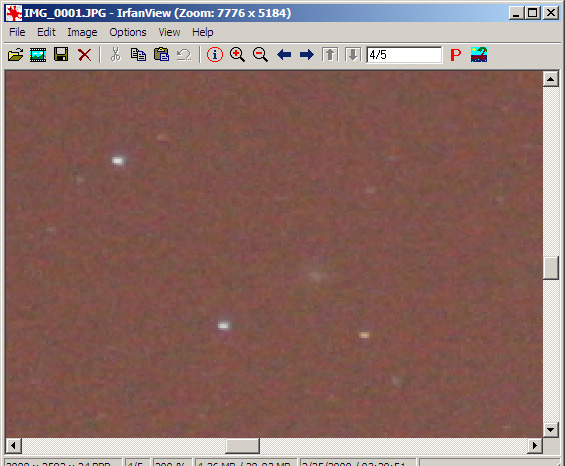
Enlarge the image to 100 percent at least, and take a look at the stars in the center and corners of the frame. This can be very educational, and it can tell you if your focus and tracking were accurate. Look at the overall color balance of the image. Long-exposure photos shot with daylight or automatic white balance at sites with light pollution, such as this one above, will usually come out with a red-brown sky. Make a mental note to fix this. Check the overall brightness and contrast of the image. We can adjust the brightness to a degree, but it is usually much better to have an image that starts out a little too light than too dark. It is easier to lower the brightness of an image. Increasing the brightness usually makes the noise more visible. Finally, while the image is magnified to 100 or 200 percent, check out the noise in a blank area of sky background.
|
|||||||
|
Back | Up | Next |