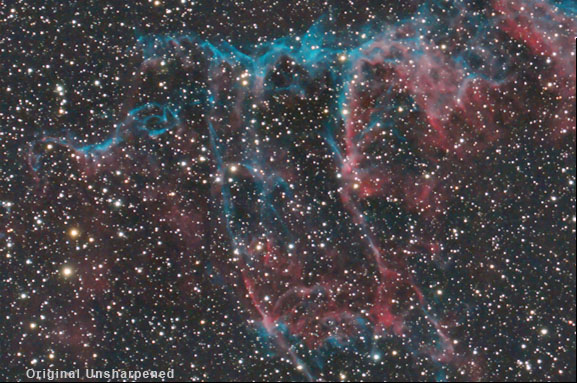
Final sharpening should be based on the intended output of the image. Different amounts of sharpening should be applied for different outputs. Here in the example below, the image has been downsampled and re-sized for use on a web page.
Resampling an image to a smaller size will make the image lose sharpness. We can use Photoshop's Unsharp Mask command to restore most of this lost sharpness. This image has had an unsharp mask (USM) applied to it in Photoshop after it was resized and resampled to this small size for web display. The USM settings were 100 percent for the amount, 0.5 pixels for the radius, and 4 for the threshold levels. Go to Filter > Sharpen > Unsharp Mask.
Sharpening should always be based on the data in the image, its resolution, and the intended output. For example, sharpening a high-resolution file for output to a high-end printer will usually require more sharpening than output of a low-resolution file to a monitor for display. Here are some starting points you can try: Low-resolution output to the web:
High-resolution output to a printer:
You may need to experiment and find the best settings for a particular image and output device by trial and error. Sharpening Full-Resolution DSLR Camera Originals Every image that comes out of a DSLR camera needs to be sharpened, even the original at full resolution. DSLR cameras have a low-pass blurring filter in front of the sensor to deal with moire and aliasing. Because of this, and because of the blurring effect of the atmosphere during long exposures, the images produced by these cameras must be sharpened. Only specially modified DSLR cameras have this filter removed. Even images produced by modified cameras must be sharpened because of the sharpness lost to seeing effects. The amount of sharpening applied to an image depends on whether the camera has the original low-pass filter in it or if it has been removed in a modification. Different amounts of sharpening can usually be specified in the camera settings for the JPEGs that are processed in the camera. The correct amount of sharpening will depend on the following parameters:
In-Camera Sharpening Most DSLR cameras allow adjustment of the amount of sharpening that is applied in the camera to JPEG images. This sharpening is applied to JPEGs while the file is processed in the camera and is permanent in the file when it is saved. This in-camera sharpening is not applied to a raw image. However, the sharpening information is stored in the raw image file's metadata, and is usually applied as a default when the image is opened in the camera manufacturer's image processing program. Because this sharpening is not applied to the raw file, the amount of sharpening can be adjusted to fit the image during the final stages of image processing. The amount of in-camera sharpening applied to JPEG images should be adjusted based on the ISO, ambient temperature, and noise present in the image. At very high ISOs, such as 1600 and 3200, you might want to turn off the in-camera sharpening altogether for JPEG images shot at high ambient temperatures that have a lot of hot pixels from thermal signal. Sharpening an image with a lot of noise present will make the noise much worse. A Two-Pass Approach It is generally recommended that a two-pass approach to sharpening be applied to the full-resolution original raw DSLR camera images. After basic image processing has been applied, step one of the sharpening is applied. This is generally a higher amount at a lower pixel radius. A suggested starting point is an amount of 100 to 300 percent and a pixel radius of 0.3 to 0.5 pixels, and a threshold level of 2 to 4. This brings back most of the sharpness that was lost to the low-pass filter and things on the imaging end. The amount of sharpening in the second step is dependent on the output destination, with a higher sharpening amount applied to print output, usually 100 to 200 percent and a pixel radius of 1.5 pixels, and a threshold level of 0 - 4. These variables will depend on the content of the picture, it's original sharpness from focus, seeing, etc. the amount of cropping and enlargement, the size it will be printed at, and most importantly, the amount of noise present in the image. Different amounts of sharpening will need to be applied to a JPEG image based on the amount of sharpening initially applied to the image in the camera. Different amounts of sharpening will also have to be applied to a raw image compared to a JPEG image. Some experimentation will be necessary to determine the optimum amount of sharpening needed by Photoshop unsharp mask filter. A balance needs to be struck between the amount of noise present in the final processed image and the amount of sharpening that can be applied because sharpening usually makes the noise appear worse. More sharpening can be applied to low-noise images. It is also possible to mask shadow areas with noise so that noise is not exaggerated and only highlight details are sharpened. |
||||||
|
Back | Up | Next |