To get started in astrophotography with a DSLR camera, you don't really need much more than the camera, lens and a tripod. In fact, you don't even need a tripod, you can use a beanbag on any solid surface, but a tripod makes it a lot easier. Equipment Needed
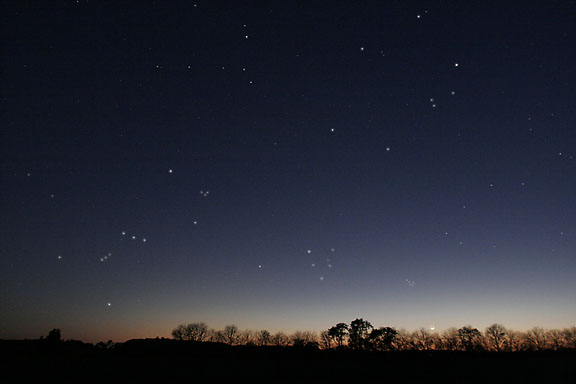
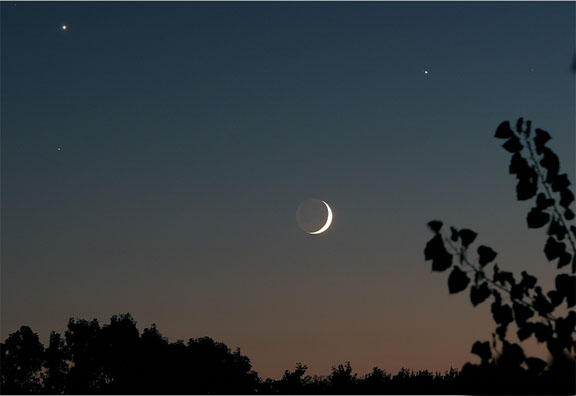
You can take wide-angle scenic photos of things like the moon and bright planets during twilight, and constellation photos with just this simple equipment. In the photo below of the beautiful thin crescent Moon, Earthshine can also be see illuminating the dark side of the moon. Earthshine is sunlight reflected from the Earth to the Moon. The crescent is illuminated by the direct light of the Sun. Also visible are Jupiter at upper right and brilliant Venus at the upper left. The bright star Spica is at left.
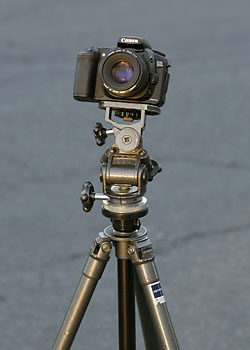
The general rule of thumb is, if you can see a star or planet visually with your unaided eye, you can take a picture of it fairly easily with a time exposure of 1 - 15 seconds on a fixed tripod. Depending on the focal length you are shooting with and where you are pointed in the sky, stars will start to trail with longer exposures. The longer the focal length the faster the stars will trail on a fixed tripod. For exposures longer than about 30 seconds with focal lengths more than about 35mm, you will need to start tracking the stars to compensate for the Earth's rotation, unless you want to shoot star trail pictures, which can be beautiful in their own way. We discussed cameras for astrophotography in the previous section, and we'll talk more about lenses in the next section. Here we will talk about tripods. To take exposures longer than about 1/30th of a second, it is critical that the camera does not move when the shutter is open or the images will not be as sharp as possible from camera movement. Long exposures absolutely require an unmoving support. The camera can be placed anywhere solid, like on a picnic table or on top of a car, and the shutter opened with the self timer, but it will be more difficult to aim. Even a bean bag can be used to help aim the camera a little better, but a tripod will make taking long exposures much easier. When shopping for a tripod, test it out first by extending the legs and center pole to their maximum range, and then press hard on the camera platform and see if the tripod moves or if the legs flex. You want a tripod that is solid and rigid. Gitzo makes the best tripods, but also the most expensive. Bogen (Manfrotto) offers sturdy tripods at a reasonable price. Other tripods, such as Slik, Velbon and Vivitar can be bought less expensively, but are not quite as solid. The longer the focal length of the lens you plan to use, the more sturdy the tripod needs to be. For extreme portability and light weight when traveling, a mini-tripod is a good choice. Even a simple wood board with ball and socket head connected with a 1/4 - 20 bolt through a countersunk hole in the bottom of the board can be used flat on the ground or on top of a bench or table. This can make for dramatic low angle shots, but is somewhat inconvenient because you have to lay on the ground to aim the camera and frame the shot, unless you have a right-angle finder.
|
|||||||||
|
Back | Up | Next |